This tutorial will guide you through the process of setting up your business profile settings in your Growzilla account.
Once you have logged into your Growzilla account, click on the Settings link located in the bottom left corner. This action will navigate you to your Business Profile Settings screen.
Next, fill in some key details to get started. Begin by uploading your Business Logo if it is available.
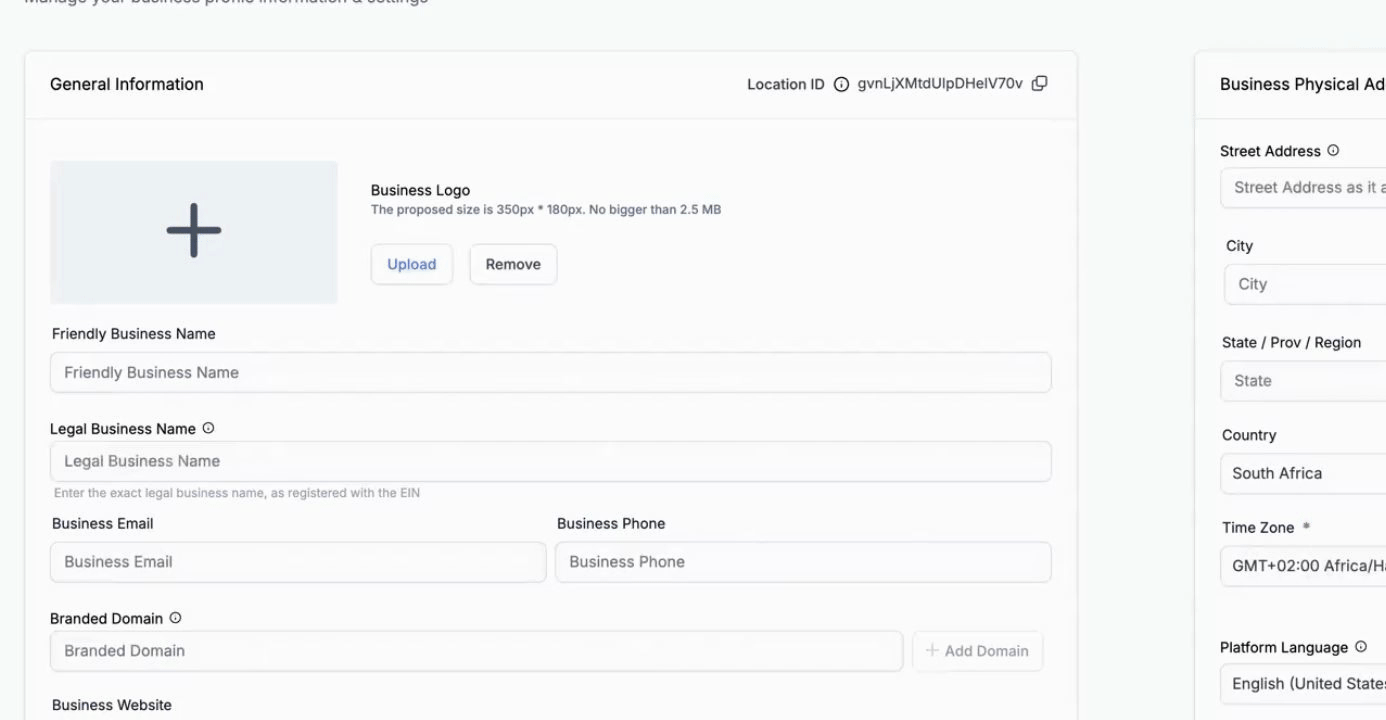
Then, fill in your Friendly Business Name.
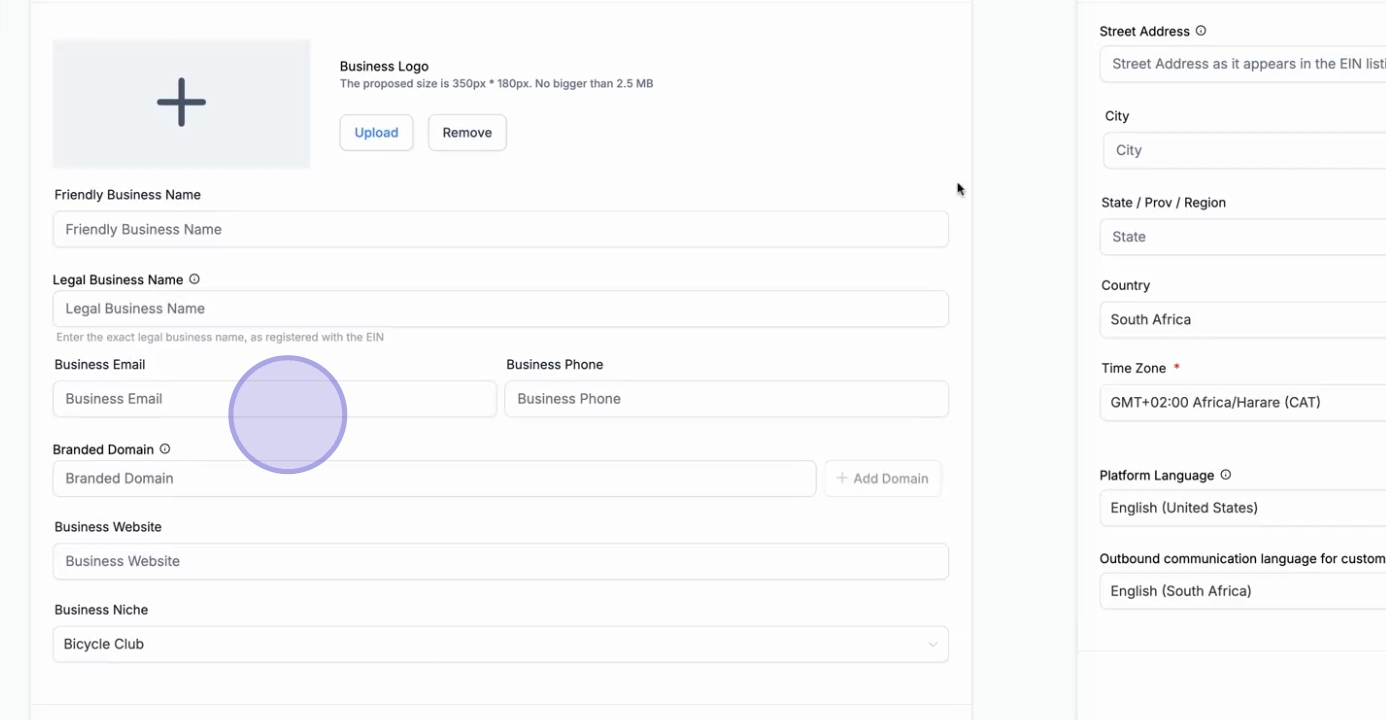
If you are trading as a different entity or have a registered limited corporation that differs from your friendly name, fill in your Legal Business Name.
Continue by filling in your Business Email, Phone Number, and Website Address.
Choose your appropriate Niche for the business to proceed.
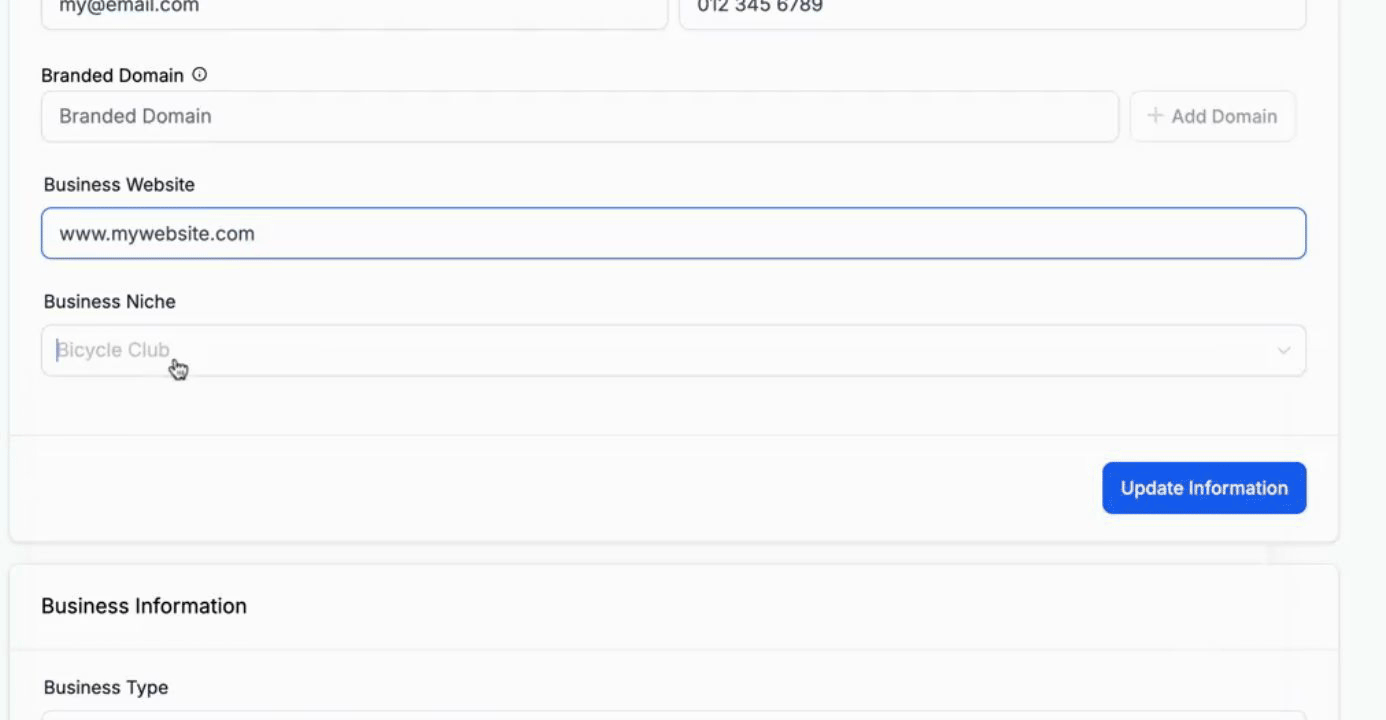
Once you have entered all the necessary information, click Update Information.
Now, fill in the Physical Address for your business, including the City, Zip Code, State, and select your Country.
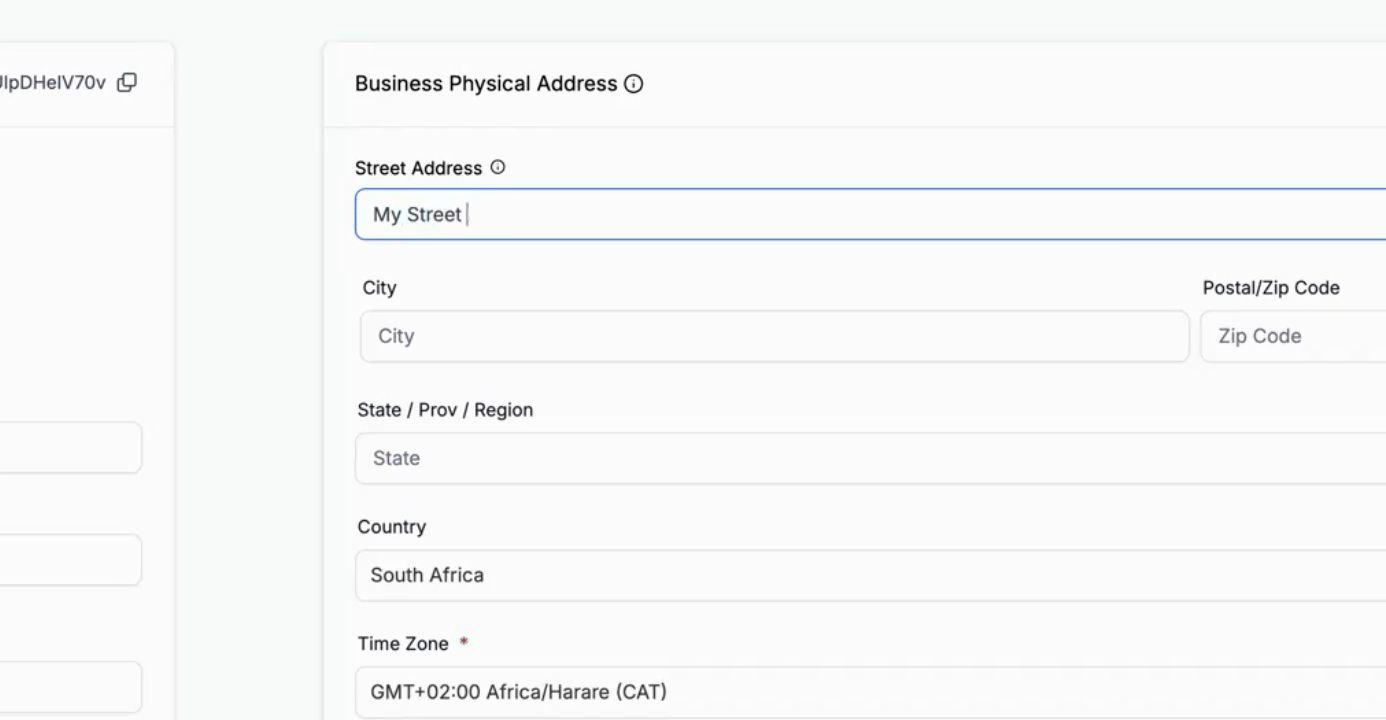
Select your preferred Time Zone and Languages.
After entering your details, click Update.
Proceed to set up the Business Information screen by choosing the business type that your business is registered as. For example, if it is a limited liability company, select that option.
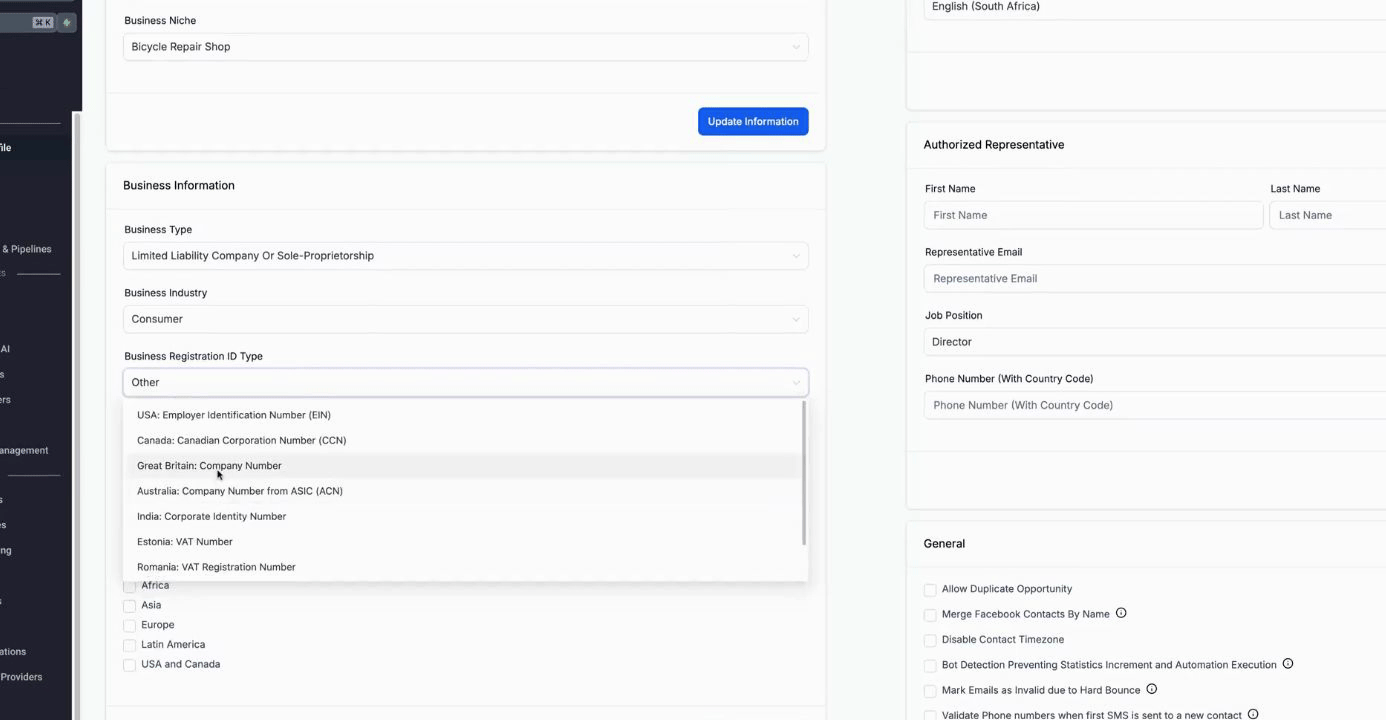
Next, select your Business Industry and specify where your business is registered.
If your business is registered in Great Britain, fill in your Business Registration Number. If you do not have a registered business, simply check the provided box.
Choose the countries where your business will be operating and click Update Information.
Subsequently, fill in the Authorized Representative boxes. This representative is typically yourself or the individual managing your Growzilla account.
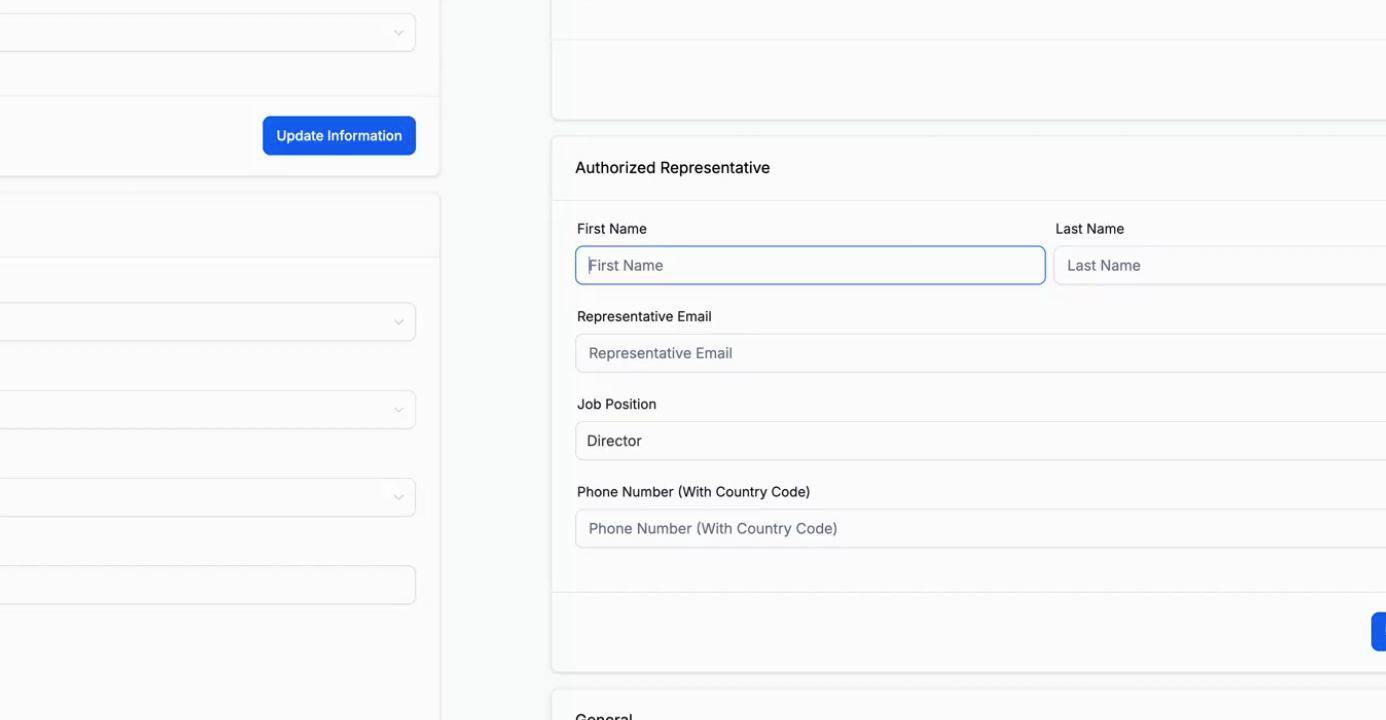
Provide your Email, select your Job Position within the business, and add your Phone Number.
All of this information is required for compliance purposes.
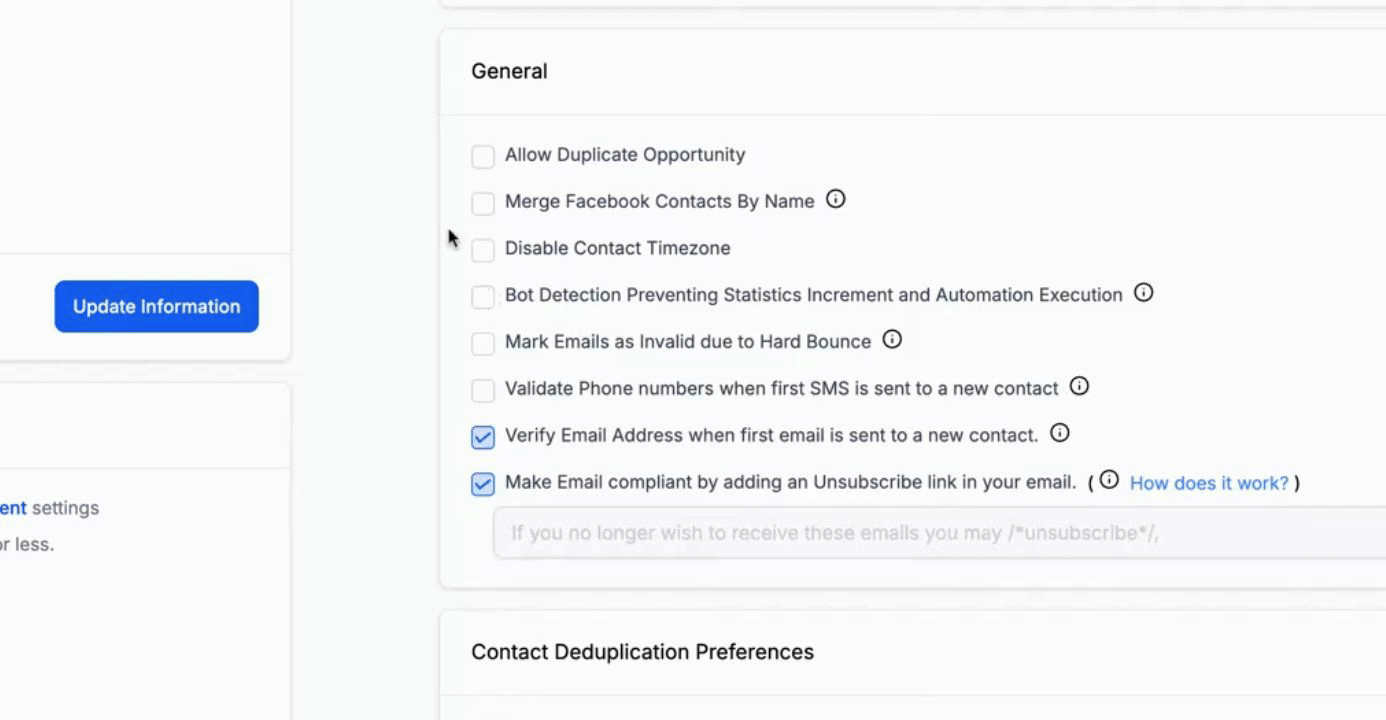
Below this section, ensure to fill in the following options: detection mark emails as invalid when bounced, and validate phone numbers. Additionally, verify that the Verify Email Address and Mark Email Compliant features are activated.
On the left side, you will find the Call and Voicemail Settings. You can record a voicemail message on your phone and upload that file here.
Set your default Call Timeout as needed.
Once all settings are configured, click Save.
Below that, you can enable Missed Call Text Back when you have a Growzilla Smart Number. Any incoming phone calls that you do not answer will automatically receive a text message, ensuring that no lead goes unanswered.
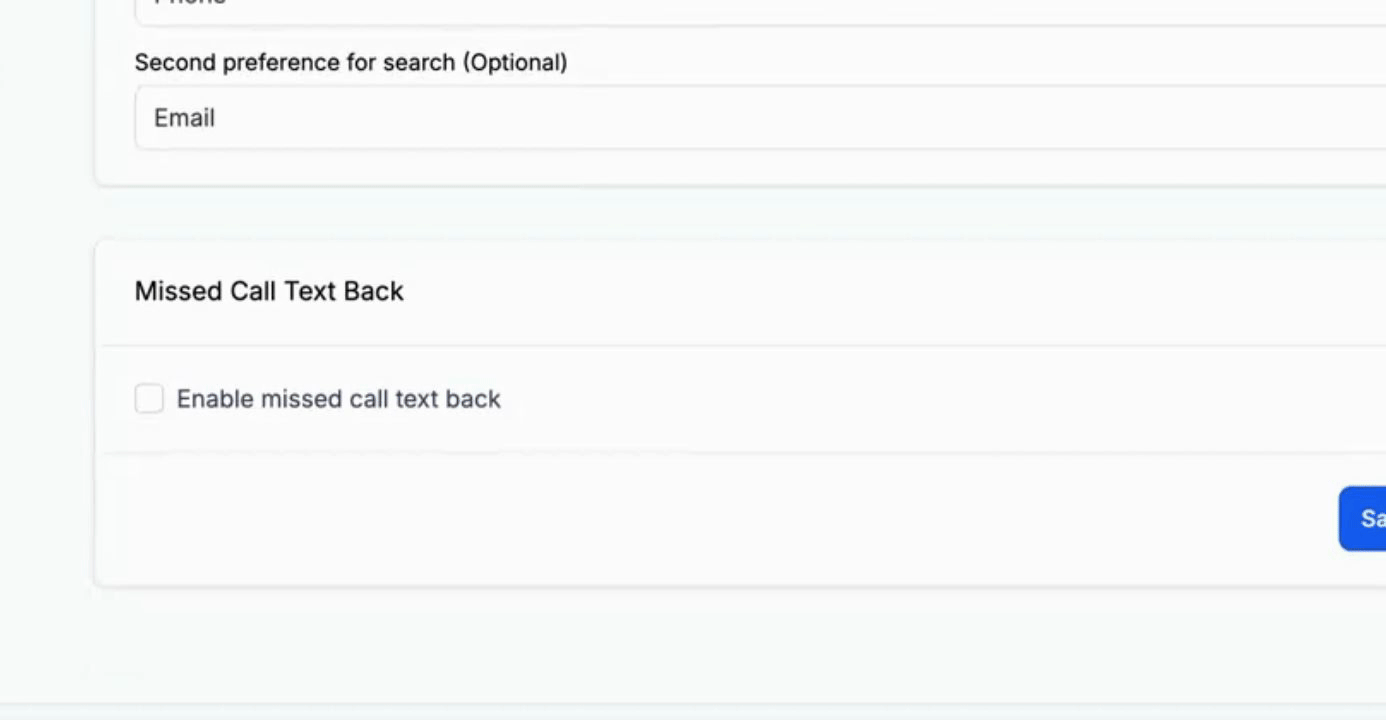
Simply save those settings.
Your Business Profile Settings are now complete.
By following these steps, you will successfully configure your business profile settings in Growzilla.