This tutorial explores how to effectively navigate around your new Growzilla account after logging in.
Upon logging in, you will encounter the dashboard screen. This dashboard may be empty initially, but it will display customer and lead information as it populates throughout your account.
On the left-hand side, you will find the main navigation menu, which allows you to access all the various functions and screens of the Growzilla platform.
At the bottom of the navigation menu, you will locate the settings menu item. Here, you can configure all the technical aspects of your new Growzilla account.
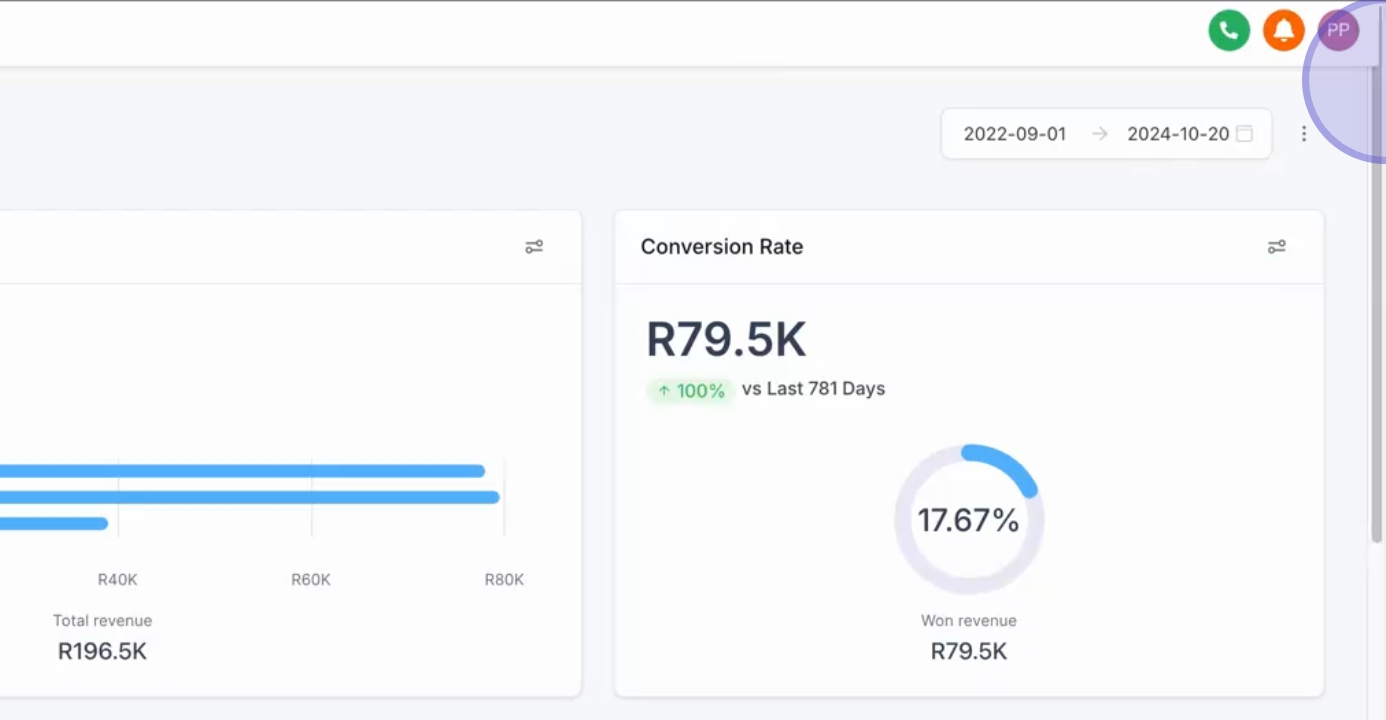
In the top right-hand corner, your personal profile avatar is available. Clicking on this will direct you to your personal profile screen and provide you the option to log out of the system.
Adjacent to your profile avatar is the notifications drawer, where you can view all notifications. You can also mark all notifications as read.

Click the three-dot icon to access the notification settings screen, where you can manage your notification preferences. You can also clear all notifications within the notifications drawer.
Lastly, the green icon next to the notifications represents the web calling functionality, which will be explored in more detail later.
By following these steps, you will be well-equipped to navigate your new Growzilla account effectively.